Microsoft Windows guide for installing NewsLeecher
In this guide we will demonstrate how to install the NewsLeecher 7.0 newsreader on the Microsoft Windows 10 operating system.
Here’s what you will need.
Pre-requisites:
- NewsLeecher 7.0 Final installer. available for download here
- Microsoft Windows 7 or newer.
- A UsenetExpress login and password. If you need an account you can sign up here.
1. Start the installation
To start the NewsLeecher Setup Wizard you’ll need to download and run the installer file named nl_setup.exe.
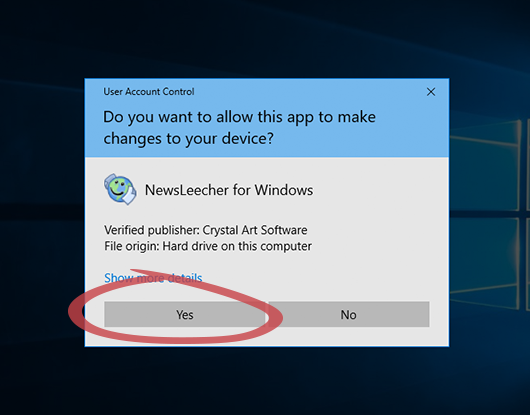
You will likely see a User Account Control notification (Illustration 1). Click ‘Yes’ to continue.
From the welcome screen, choose ‘Next’ to continue the installation. (Illustration 2)
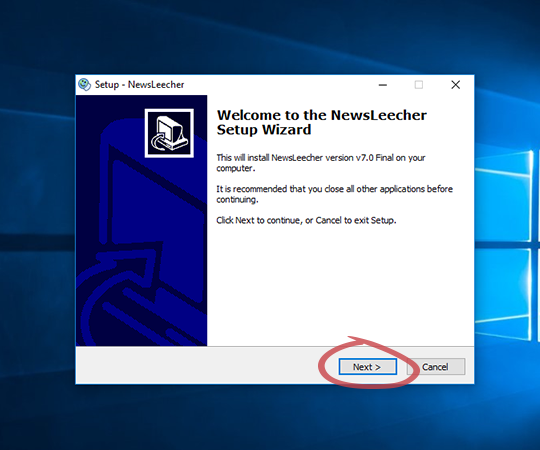
Read and accept the license agreement, then choose ‘Next’ to continue. (Illustration 3)
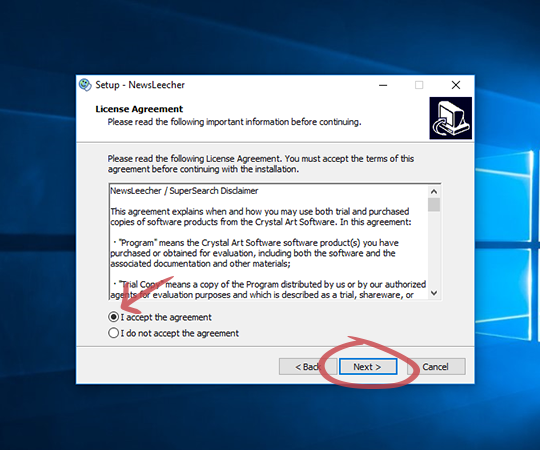
You will be presented with the option to change the destination location folder if desired. The default is usually fine. Choose ‘Next’ to continue. (Illustration 4)
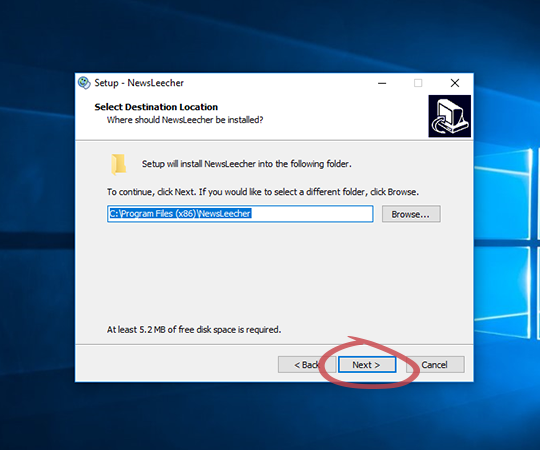
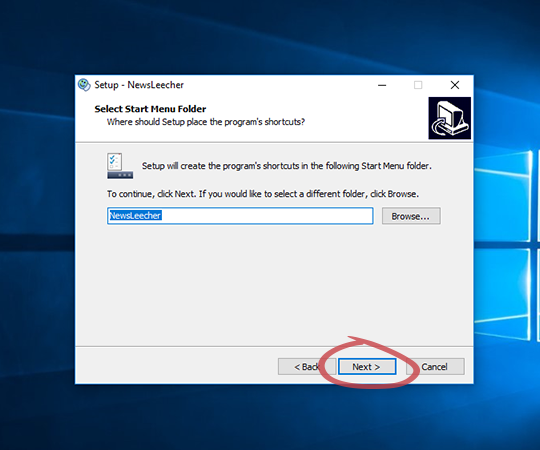
You will be given the option to change the name of the start menu folder for NewsLeecher. We recommend that you do not change this option. It will make it easier to follow other guides later on if necessary. Choose ‘Next’ to continue. (Illustration 5)
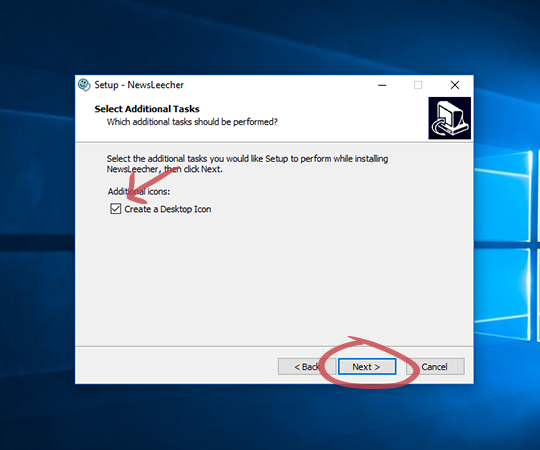
Confirm that you have checked the option to create a desktop icon for NewsLeecher. Choose ‘Next’ to continue. (Illustration 6)
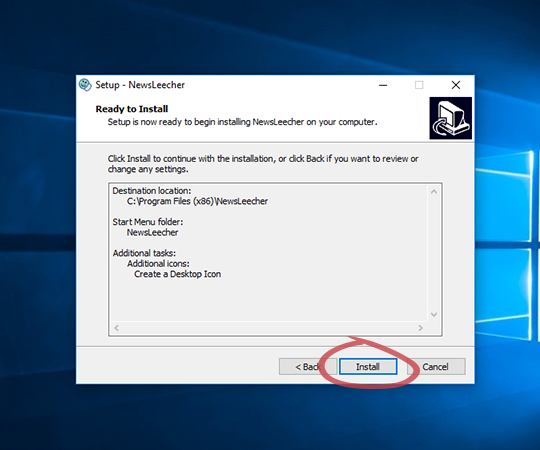
You now are given a chance to review the options you’ve selected so far. Review the settings listed then choose ‘Install’ to finalize the installation process. (Illustration 7)
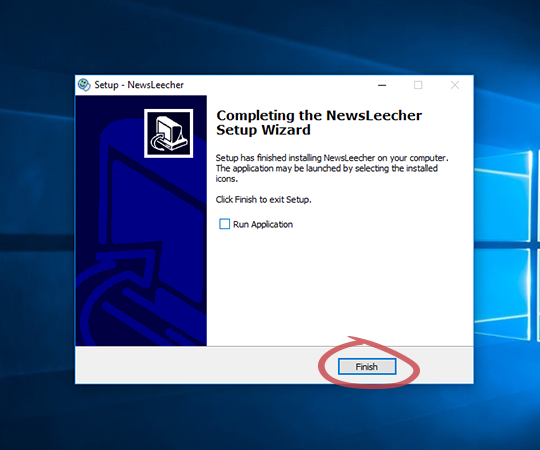
When installation is completed the setup wizard will let you know (Illustration 8). Choose ‘Finish’ to exit the wizard.
You’ve successfully installed NewsLeecher! Up next we’ll need to configure it to use your UsenetExpress account.
2. Launch and configure NewsLeecher
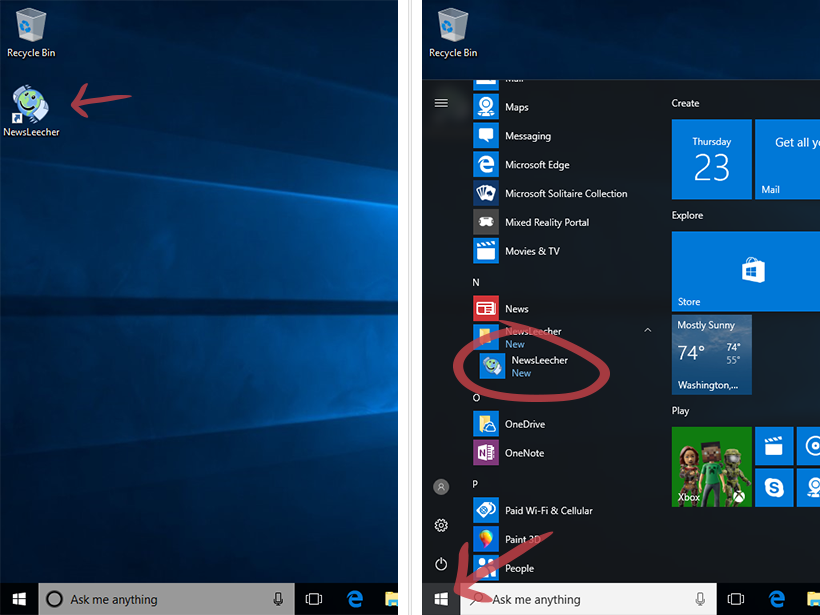
Assuming that you didn’t choose ‘Run Application’ from the Setup Wizard, you’ll need to run NewsLeecher in one of two ways. You can double click (or touch if your device supports it) the desktop icon (illustration 9, Left), or use start menu (Illustration 9, Right).
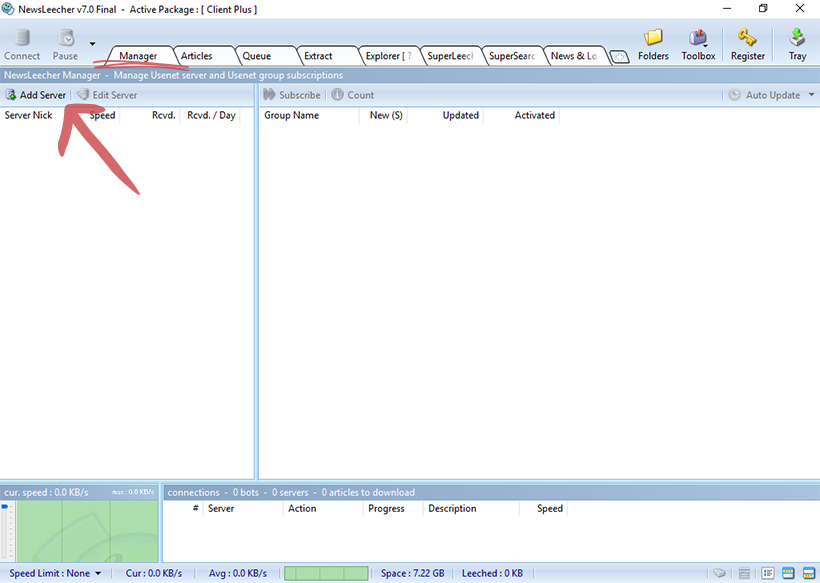
When NewsLeecher starts up for the first time (Illustration 10) you need to configure it to use the UsenetExpress server. Click ‘Add Server’ to do this. If you don’t see the ‘Add Server’ option, make sure that you have selected the ‘Manager’ tab.
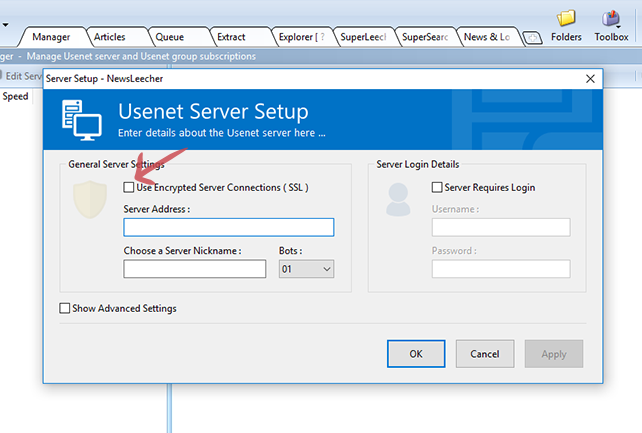
You should now be looking at the Usenet Server Setup window (Illustration 11). This is where we’ll enter your UsenetExpress account information. We’ll be using SSL to keep your connections secure. Check the box for ‘Use Encrypted Server Connections (SSL)’.
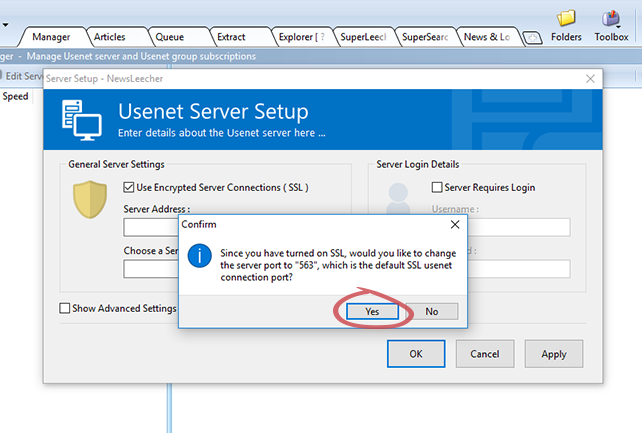
Once you’ve chosen SSL, you’ll be prompted to change the port setting (Illustration 12). This is correct, so choose ‘Yes’. You’ll want SSL support, however port 563 is not the correct port for NewsLeecher. NewsLeecher will need to use port 564 with our service. No worries though, we’ll fix that in the next step.
Now we need to enter the UsenetExpress server information and your login information as well. You should have received the necessary information when you created your account. If can’t find it, please check out our support section or contact our technical support staff for help.
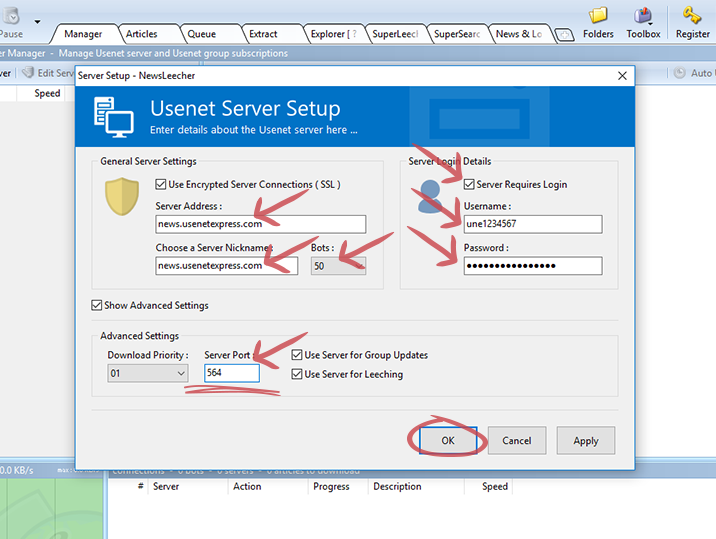
In Illustration 13 you’ll see what needs to be configured. Fill in the form with the information below using the illustration as a guide. Click ‘OK’ when you’re done.
- Server Address: news.usenetexpress.com
- Server Nickname: news.usenetexpress.com
- Bots: 50
- Server Requires Login: checked
- Username: Your UsenetExpress username
- Password: Your UsenetExpress password
- Server Port: 564, not 563 as explained previously.
Congratulations, you’ve successfully configured NewsLeecher for use with UsenetExpress!
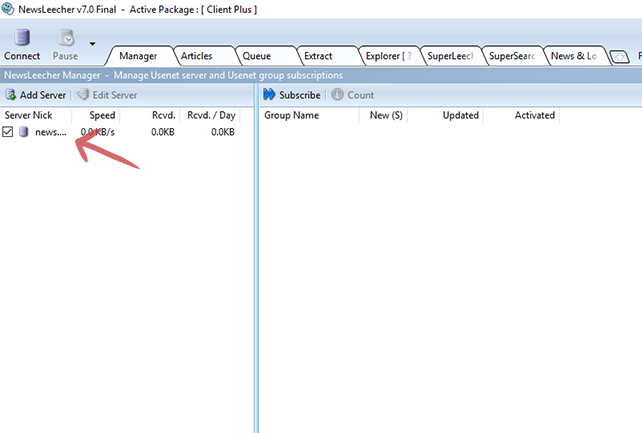
You should now see your newly configured server in NewsLeecher’s server manager.
Interested in learning more about using NewsLeecher? This might be a good time to check out our related guides Browsing Usenet with NewsLeecher and Using NZBs with NewsLeecher.
